

Wallcovering Installation Guide
-
Please read through all instructions prior to starting the installation. If at any time during the installation, a product quality or installation issue should be discovered, STOP! Contact Presto Tape before proceeding.
Recommended Tools
- Plastic, Rubber, or Felt Tipped Squeegee
- Lint Free Cloth
- Stabilo Water Soluble Pencil
- Step Ladder
- Tape Measure
- Razor Knife
- Level or Laser Level
Pre-Installation Prep
Inspect PrestoTex packaging upon receipt for damage.
Immediately file a claim with the carrier if damage is found. Also, contact
Presto Tape regarding the issue.
After opening, check to ensure that all products have been
received.
After printing the panels, they should be matched up in
order from left to right ensuring the panels match and properly align.
Once the panels are aligned mark overlap lines, liner cuts,
and ceiling lines. Consider leaving 1.5in overlap.
Label each panel for easy setup and include installation
drawings.
Box panels for safe transportation to the job site or
shipping
Allow the product to acclimate to room conditions for 48
hours prior to installation.
Choose the Surface
Pick a smooth, dry and clean surface. The most traditional places include walls, doors, windows or glass.
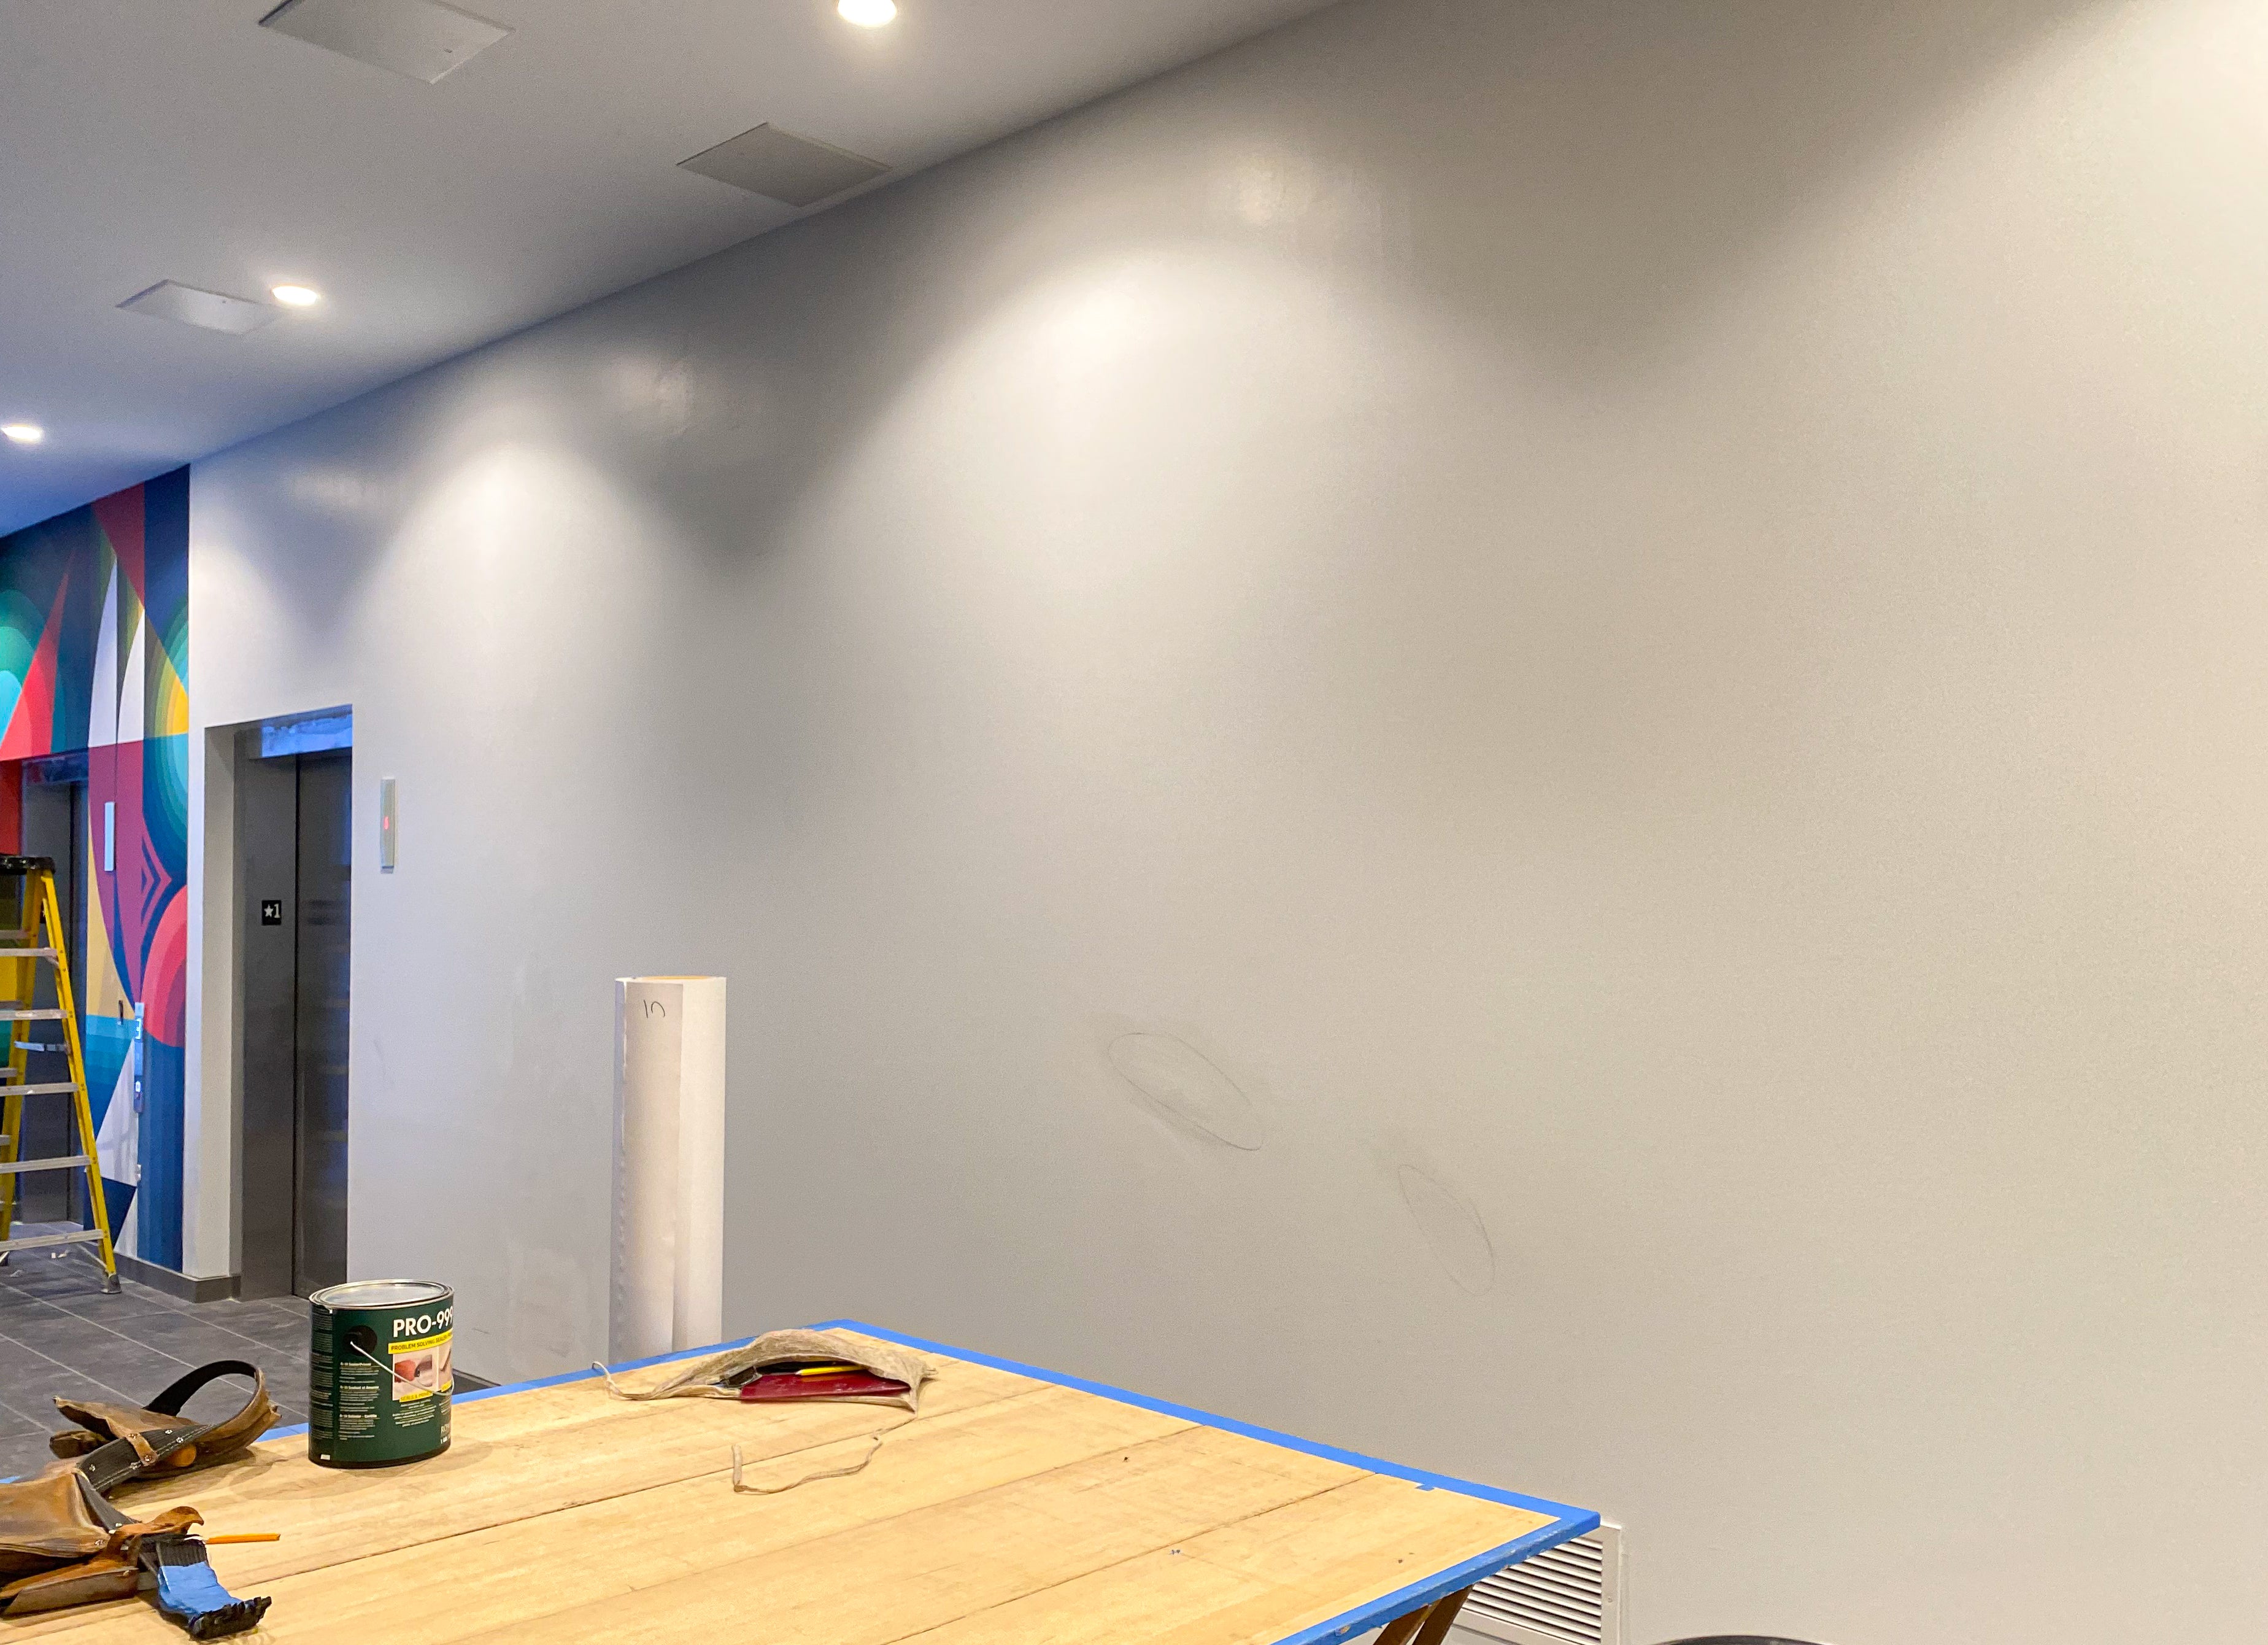
Wall surface must be flat, smooth, clean and dry.
Applicable surfaces are primed and painted drywall, graphic boards such as pvc board, sintra, acrylic, painted MDO wood, aluminum panels, dibond, glass, etc.
Prepare the Surface
Wall surface imperfections, such as holes, raised texture or uneven areas along surface, must be repaired and smoothed.
Do not apply wallcovering to unsealed drywall. Drywall finish should be at level 5 per ASTM C840 Drywall Finish Standards. Walls must be primed and painted to seal porous drywall (Glidden Gripper primer recommended). Primer should be applied using a smooth nap roller for best results. The ideal wall surface is smooth with semi-gloss paint (Glidden Premium Semi-Gloss Recommended.). Wall must be allowed to dry for 30 days prior to installation to avoid outgassing of paint and bubbling of wallcovering.
After the wall has been primed and dried, wipe down the wall using 70/30 mix 70% water, 30% isopropyl alcohol, then allow time for the wall to completely dry.
The room temperature of the installation should be climate controlled between 50°F to 100°F.
For outdoor installations we suggest you use a pump spray to save time.
We do not recommend the following:
- Do not install on walls with rough texture.
- Do not install on walls with oil-based paint.
- Do not install on walls that have an anti-g coating.
Applying PrestoTex
Measure the height of the installation area.
Check to ensure that each strip of wallcovering is of length to cover the installation area.
- When wallcovering butts to edge of ceiling, 2” minimum bleed included for positioning and cutting to size.
- When wallcovering butts to base molding, 2” minimum bleed included for positioning and cutting to size.
- When wallcovering butts to left or right edge of wall, 6” minimum bleed included on leftmost and/or rightmost strip for positioning and cutting to size.
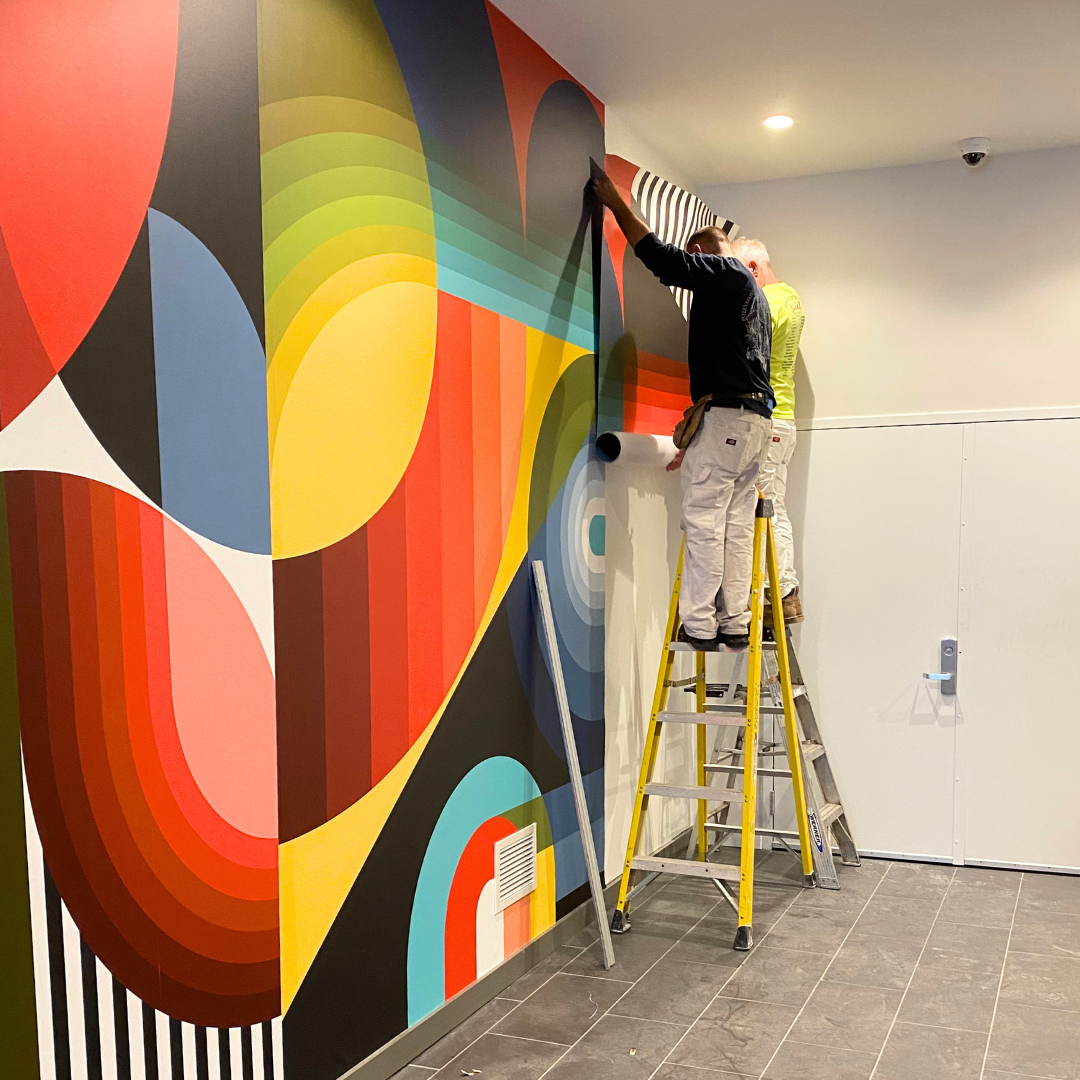
Organize strips in the sequence in which they will be applied.
Lay the wallcovering strip graphic side down, on a clean table or surface.
Starting at the top, carefully peel back 4 to 6 inches of liner from the backside and crease it towards the bottom of the graphic. Without stretching the material, position the exposed adhesive area to the wall, using a level to ensure square. Once positioned, smooth out with a squeegee, starting at the top and working from center outward as you work your way down. Squeegee with medium pressure.
Continue the process of peeling back liner in 4-to-6-inch increments, smoothing against the wall from center outward and checking to ensure proper alignment. Repeat this process all the way down.
If any bubbles are left during the application process, the graphic can be gently peeled away from the wall to release the bubbles and reapplied. Alternatively, if small bubbles remain, remove by carefully poking a pin hole into the bubble with the tip of a razor knife and smooth out using a squeegee.
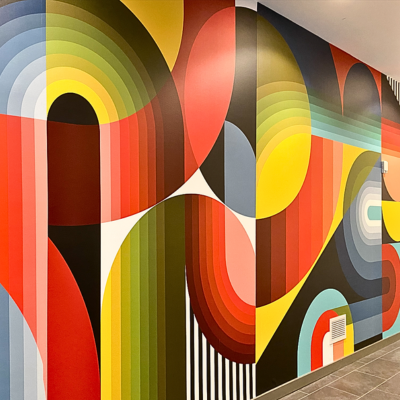
If applying multiple wallcovering strips adjacent to each other, see seam options below.
- Overlap seams, include at least 1” overlap at seams.
- Butt seams, include 1” overlap at seams and splice or double cut, unless otherwise specified to achieve butt seam appearance.
Trim around any obstructions, such as light switches, baseboard, and outlets with a razor knife with new blade.
Trim excess material along edges that terminate at the ceiling, base molding or edge of wall with a razor knife with new blade.
Please note: Consistent medium pressure and care to squeegee the entire wall surface will ensure good adhesion to the wall and not have bubbles appear later.
Care and Maintenance
Recommended cleaners: Mild soap (i.e., Dawn® or Joy®) and water solution.
When cleaning, spray a dry, clean, lint free cloth and wipe clean. Do not scrub.
Rinse with fresh water to remove any residue, then wipe dry.
Ordinary dirt smudges and most grime can be removed with a mild soap and water solution.
For stains that require more than soap and water, use one of the recommended cleaners.
Remove stains promptly to prevent any reaction between the stain and the graphic that could cause discoloration.
Do not use steel wool, powdered abrasives, or abrasive sponges.
Do not use any cleaners containing alcohol, solvents or bleach
Removal Instructions
Starting in a corner, carefully lift the wallcovering strip from the wall.
Slowly pull back at a 90° angle to create the least amount of stress on the painted surface.
Continue peeling slowly, keeping the angle 90° and diagonal to the wallcovering strip.
If reapplying the graphic, do not wrinkle the material or allow the adhesive side to touch.
Suggestions
Additional Tips for Installation
- Depending on the size of the installation, it may be helpful to have two people work together on the installation. One person should pull down the liner, while the other should smooth out the wall media onto the surface.
- After installation wipe away any Stabilo pencil marks with water.
- If bubbles or wrinkles occur during installation, lightly press or smooth them out, or just peel back that area and re-apply.
- Pressing too hard will not damage the wall media; however, it may cause your hands to gather ink (due to the natural oils on your hands), and could transfer from your hands onto another surface.
- Occasionally bubbles may appear over a few days, this happens if oil, dirt, or dust is on the surface. To remove them smooth out the area or use a sewing pin to pop the bubble, then smooth it out in a circular motion.
- Most bubbles are due to the wall being painted within the last 30 days or the use of cleaning chemicals on the surface.
- In the very rare instance that bubbles keep re-appearing, you may want to move the installation to another area. An issue with the surface is preventing the adhesive from sticking.
- If you choose to liquid laminate the wall media, always liquid laminate it with the material still on the liner.
- PrestoTex can be removed and replaced multiple times; however, once the adhesive collects too much dust, dirt or fibers it will become less effective and may not stick as well to the surface.
- If there is an uncertainty or concern about the surface application, contact us for samples to test the wall adhesion.