

Wallcovering Installation Guide
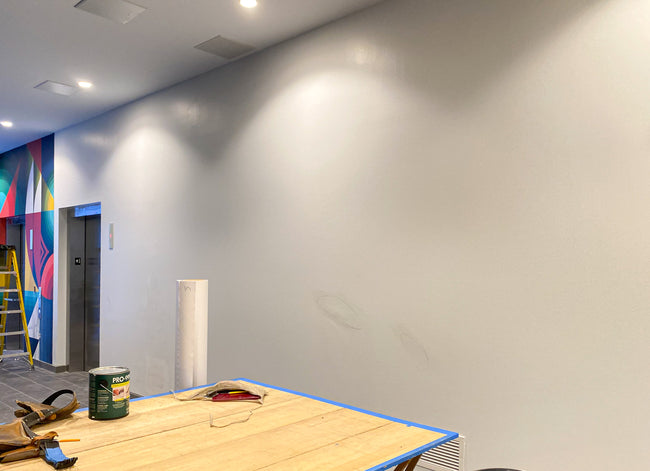
Choose the Surface
Pick a smooth, dry and clean surface. The most traditional places include walls, doors, windows or glass.
When installing the wall media on a standard painted wall, make sure the wall has been previously primed prior to painting (otherwise the paint or adhesive may come off).
Make sure you allow 30 days for newly painted walls to out gas which will prevent bubbling.
If you place the wall media on a textured surface that has used eggshell paint or a very porous surface (i.e. brick, cement walls, stucco), you may receive poor results, although it has worked in most cases. Textured surfaces should be tested first by installing a sample and leaving it in place for a few days.
You can overlap the material up to 1” or butt seam it (as the material does not shrink or curl).
Prepare the Surface
Use a warm, damp cloth or sponge to clean the surface, then allow it to completely dry. Make sure all previous cleaning solutions are completely wiped away.
For outdoor installations we suggest you use a pump spray to save time.
PrestoTex can be removed and replaced multiple times; however, once the adhesive collects too much dust, dirt or fibers it will become less effective and may not stick as well to the surface.
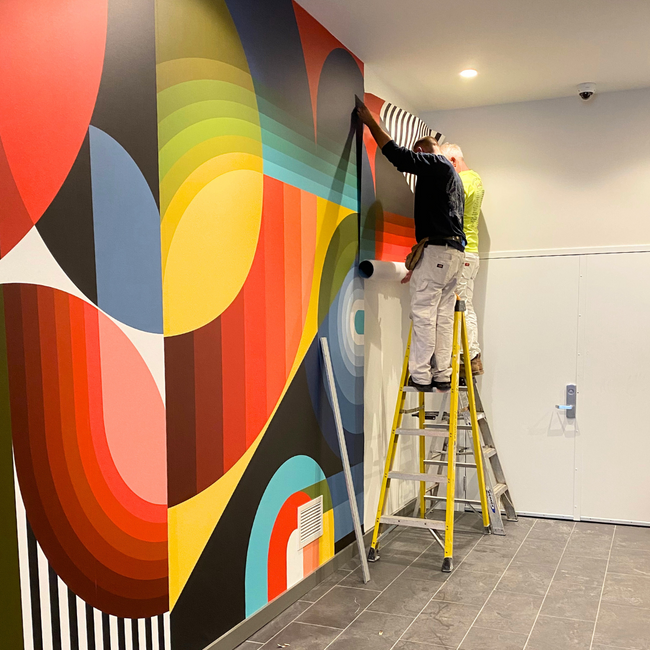
Applying PrestoTex
Start by hanging the first panel of the print media at the top of the wall. To do this pull down approximately 4 to 6 inches of the liner and crease the back of the liner.
Then simply apply the 4 to 6 inches of exposed adhesive area to your chosen location. It can be repositioned many times.
Once you’re aligned continue to slowly pull the liner downward in 4 to 6 inch increments, smoothing the wall media as you go.
Suggestions
Additional Tips for Installation
- Depending on the size of the installation, it may be helpful to have two people work together on the installation. One person should pull down the liner, while the other should smooth out the wall media onto the surface.
- A felt tip squeegee is recommended to smooth out the panels and adhere them to the surface.
- If bubbles or wrinkles occur during installation, lightly press or smooth them out, or just peel back that area and re-apply.
- Pressing too hard will not damage the wall media; however, it may cause your hands to gather ink (due to the natural oils on your hands), and could transfer from your hands onto another surface.
- Occasionally bubbles may appear over a few days, this happens if oil, dirt, or dust is on the surface. To remove them smooth out the area or use a sewing pin to pop the bubble, then smooth it out in a circular motion.
- Most bubbles are due to the wall being painted within the last 30 days or the use of cleaning chemicals on the surface.
- In the very rare instance that bubbles keep re-appearing, you may want to move the installation to another area. An issue with the surface is preventing the adhesive to stick.
- If you choose to liquid laminate the wall media, always liquid laminate it with the material still on the liner.